
A neighbor was throwing out a piece of old fence, and I jumped at the opportunity to create some projects with it! I figured this was a great way to begin working with reclaimed wood. If I messed it up- no big deal.
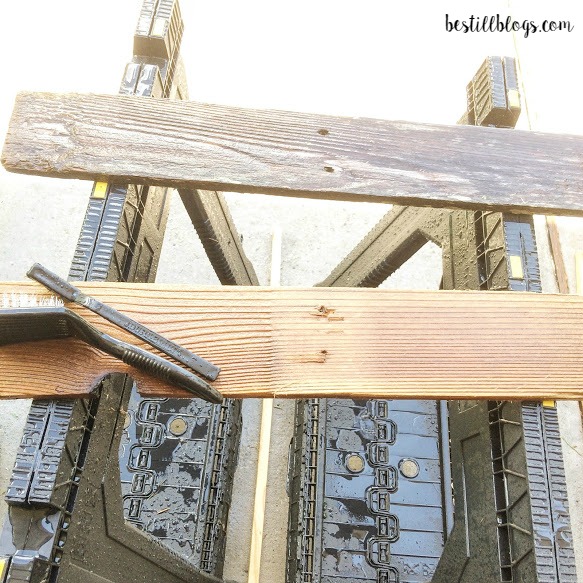
So here was what I was working with:

She had seen better days, but I had faith in restoring her into some amazing pieces for our home.
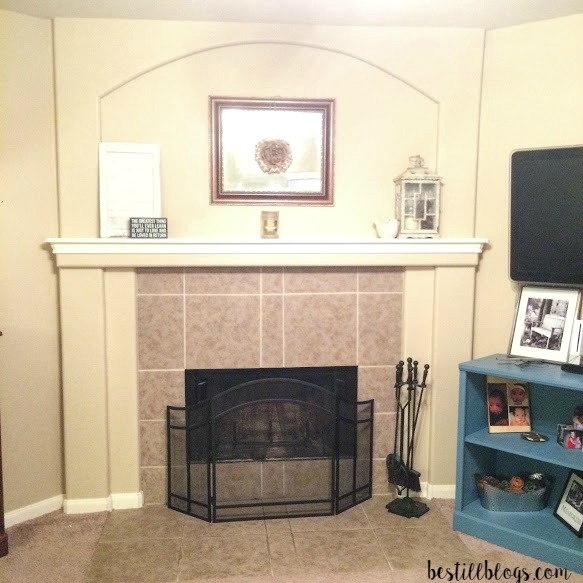
I decided to first create something to hang over our fireplace.
Previously an old rectangular mirror hung with a thrown together small burlap wreath on the front- I was over it.
I had an idea of what I wanted and set off to work. I had my hubby cut 24 inches off 6 planks, roughly making the piece 24×24. I kept the remaining wood for a much larger décor piece I am currently working on, so every inch of those six planks were used!
I first needed to scrub the ever loving crud off of each plank. They were covered in nasty dirt, grime, mold and slime. This was the most laborious and lengthy part of the whole process. I scrubbed away in 100 degree Texas weather while my kiddos happily played in our front yard.
That before and after speaks for itself.
All I used was a bucket of water with some Dawn dish soap, a hose, a larger bristle brush and a smaller (large toothbrush sized) bristle brush
I sprayed off all the planks first, then one by one, began scrubbing. I found it easiest to put a few drops of the dish soap directly on the plank and scrub with the larger brush, spray off, and then attack stubborn areas with the smaller brush (don’t forget the ends and sides as well!).
After they were cleaned, I laid them out in the sun to dry, ensuring to flip them when the first side was dry, and also not leave them out too long in the sun since they could possibly warp.
The next step was adding wood hardener. The planks were pretty fragile. They would work, but definitely needed help. I choose to use Miniwax Wood Hardener (purchased at Home Depot for roughly $14.99). Make sure you use a paintbrush you don’t mind throwing out with this stuff, or if you want to keep the brush, make sure you wash it thoroughly with acetone.
I ended up putting about two coats on each side of the planks. There was a noticeable difference once they dried- much sturdier and easier to work with.
I decided to keep the natural color instead of staining or painting, so I then finished up the planks by sealing them with two coats of Miniwax Water Based Polycrylic Protective Finish.
They were then ready for my hubby to brace them together and add two picture hooks.

This is what the piece looked like hung once completed.

The absolute finishing touch was the boxwood wreath I made which in my opinion perfectly completed this piece and made it stunning.
I am in absolute love with this reclaimed wood décor piece! Definitely worth all the hard work!
Have you worked with reclaimed wood before? What projects have you done, and what techniques have you found work the best? I would love to hear!
xoxo
Katie

Absolutely in love with this! Great job on the wood and the wreath!!
LikeLike
Thanks, girl xoxo
LikeLike